Modeling of clay. How to sculpt a clay bowl
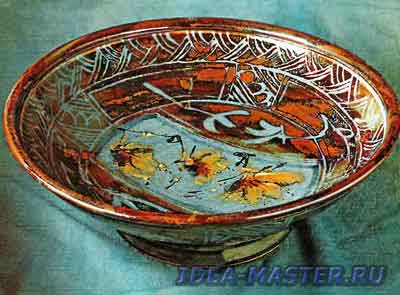
How to make a clay bowl
Before you start modeling, you need to clearly determine what type of bowl you want to make. The bottom of the clay bowl can be thick, massive, flat or rounded. To the clay bowl turned out to have a stable support, you need to make a round base and leave clay for the rim.
Forming a round base of a clay bowl
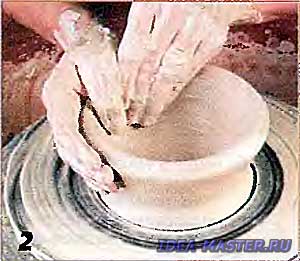
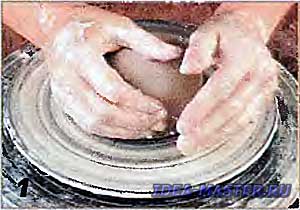 Stage a lump of prepared clay weighing about 3 kg. Lean your hands on the future edge of the bowl. Grasp the clay and divide the lump with your thumbs so that there is enough clay left at the base for support. Gently and evenly push the clay apart, reducing the lump as you move your thumb to the rim. During this operation, the circle should be spun up to high speed. Stage a lump of prepared clay weighing about 3 kg. Lean your hands on the future edge of the bowl. Grasp the clay and divide the lump with your thumbs so that there is enough clay left at the base for support. Gently and evenly push the clay apart, reducing the lump as you move your thumb to the rim. During this operation, the circle should be spun up to high speed. |
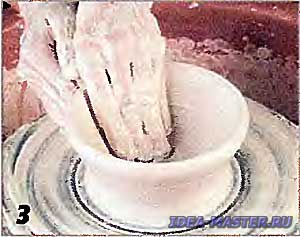
 With your hands resting on the edge of the bowl, grasp the outer side of the wall with your right hand so that it supports the left hand, with which you must continuously expand the wall and form a concave contour. With your hands resting on the edge of the bowl, grasp the outer side of the wall with your right hand so that it supports the left hand, with which you must continuously expand the wall and form a concave contour. |
Wall removal
 Clamp the wall between the thumb and the remaining fingers of the left hand. From the inside of the wall, apply force in the middle of the wall, and press with your thumb at the base from the outside. Help lift the clay with your right thumb pressed against the outside of the wall. During this operation, slightly reduce the speed of the circle. Clamp the wall between the thumb and the remaining fingers of the left hand. From the inside of the wall, apply force in the middle of the wall, and press with your thumb at the base from the outside. Help lift the clay with your right thumb pressed against the outside of the wall. During this operation, slightly reduce the speed of the circle. |
 Without changing the position of the hands, apply more force to the inner side of the wall and, expanding the shape, "drive" the ring of clay from the base to the rim. The clay itself will "ask" to come out. Without changing the position of the hands, apply more force to the inner side of the wall and, expanding the shape, "drive" the ring of clay from the base to the rim. The clay itself will "ask" to come out. |
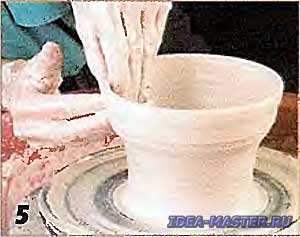 To make the wall higher, in the same way «run» the second ring of clay. When you open the clay to the desired diameter, the wall will become lower. Always try to make the left hand pull the wall, starting from the center. Rest your hands on the bowl or, bending at the elbows, keep them close to you. To make the wall higher, in the same way «run» the second ring of clay. When you open the clay to the desired diameter, the wall will become lower. Always try to make the left hand pull the wall, starting from the center. Rest your hands on the bowl or, bending at the elbows, keep them close to you. |
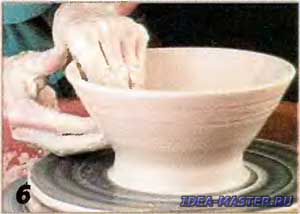 Keep expanding the form. At this stage, reduce the speed of the circle and as the shape expands, reduce the effort of the hands. Keep expanding the form. At this stage, reduce the speed of the circle and as the shape expands, reduce the effort of the hands. |
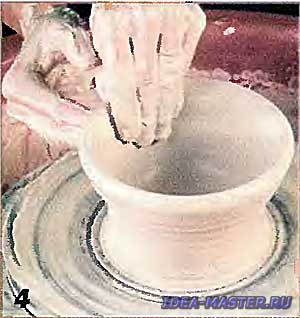
 With your left hand, apply more force in the middle of the inner side of the wall and, without disturbing the correct contour inside the bowl, carefully form its bend from the rim to the center. With your left hand, apply more force in the middle of the inner side of the wall and, without disturbing the correct contour inside the bowl, carefully form its bend from the rim to the center. |
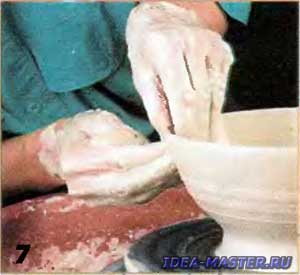
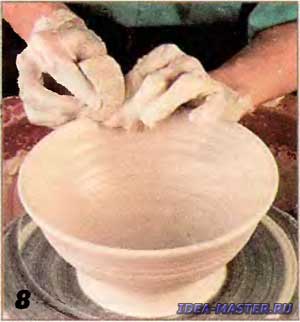 On a slowly rotating circle, hold the rim between the thumb and forefinger of your left hand, and with your right hand press a wet sponge to the rim and smooth out the clay. Now the bowl can be cut off from the gasket. On a slowly rotating circle, hold the rim between the thumb and forefinger of your left hand, and with your right hand press a wet sponge to the rim and smooth out the clay. Now the bowl can be cut off from the gasket. |
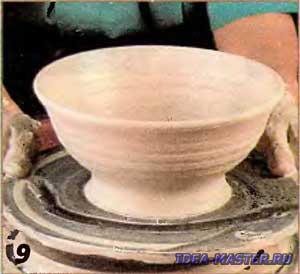 The bowl can be left to dry so that the clay hardens, and then thread the support at the base. The bowl can be left to dry so that the clay hardens, and then thread the support at the base. |
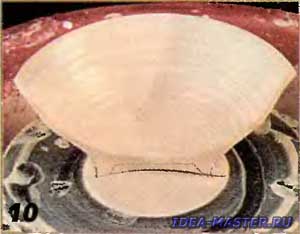 The cross section shows what shape the base should be. The cross section shows what shape the base should be. |
Bottom formation
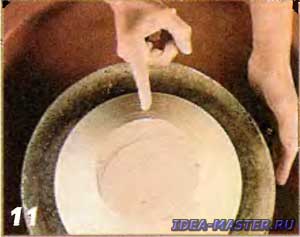 Turn the bowl upside down and, placing it on a wet pad, filter it. To do this, press one hand against the edge of the circle and point your index finger at «6 o'clock» so that it touches the bowl. With the other hand, gently rotate the circle and determine on the rotating bowl where it comes closest to the finger. At this point, stop the circle and gently slide the bowl to «12 o'clock». Repeat this operation until you finish centering. Turn the bowl upside down and, placing it on a wet pad, filter it. To do this, press one hand against the edge of the circle and point your index finger at «6 o'clock» so that it touches the bowl. With the other hand, gently rotate the circle and determine on the rotating bowl where it comes closest to the finger. At this point, stop the circle and gently slide the bowl to «12 o'clock». Repeat this operation until you finish centering. |
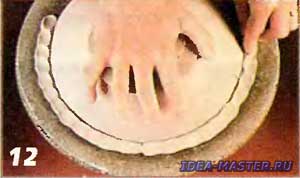 Holding the bowl with one hand, with the other, fix it on the gasket with a ring of clay. It will hold the bowl firmly while you work with it. Holding the bowl with one hand, with the other, fix it on the gasket with a ring of clay. It will hold the bowl firmly while you work with it. |
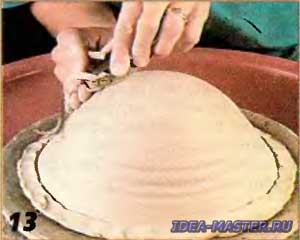 Spin the circle to medium speed and stack cut the excess clay. Spin the circle to medium speed and stack cut the excess clay. |
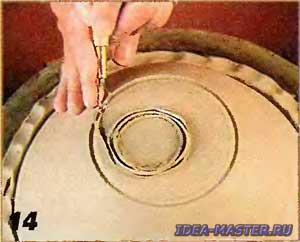 The diameter of the base depends on whether the bowl is decorative or used in everyday life. The wider the base, the more stable the bowl is. Stack the outer wall of the base. The diameter of the base depends on whether the bowl is decorative or used in everyday life. The wider the base, the more stable the bowl is. Stack the outer wall of the base. |
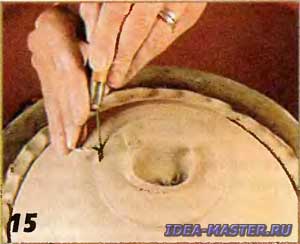 According to the inner profile of the bowl, cut the clay from the base. According to the inner profile of the bowl, cut the clay from the base. |
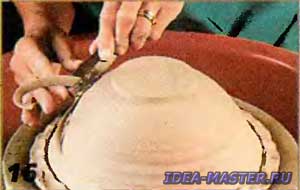 To give the bowl elegance, cut the clay from the base to the rim, while tracking the profile of the bowl. To give the bowl elegance, cut the clay from the base to the rim, while tracking the profile of the bowl. |
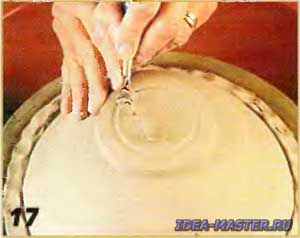 Mark the inner line of the base with a stack. Don't make it too wide! Mark the inner line of the base with a stack. Don't make it too wide! |
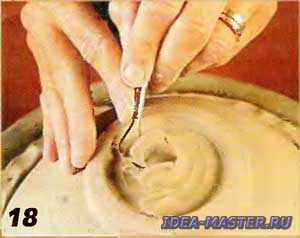 Cut out the inside of the base in the shape of a dome so that the lowest point corresponds to the line of the outside of the base of the bowl. Cut out the inside of the base in the shape of a dome so that the lowest point corresponds to the line of the outside of the base of the bowl. |
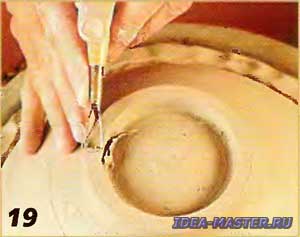 If necessary, align the base and stack smooth the protrusions and sharp edges. If necessary, align the base and stack smooth the protrusions and sharp edges. |
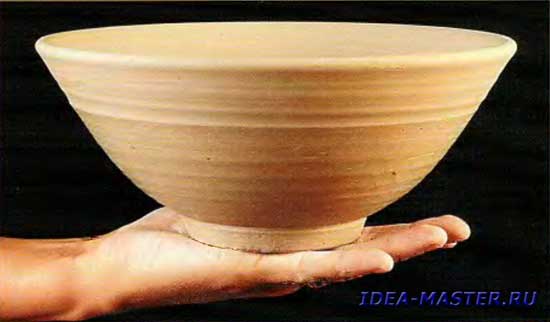
The work is finished. If the bowl seems massive, center and sharpen it again.
All materials of the section «Decorative and applied art»
| Share this page on social networks: |
